Bathroom tile mistakes can happen during a bathroom remodeling procedure. Let’s talk about these errors and learn how to avoid them. We want your bathroom renovation to be a success, both visually and in durability!
Bathroom Tile Mistakes: Your Guide to Success
Selecting the Perfect Material: A Crucial Foundation
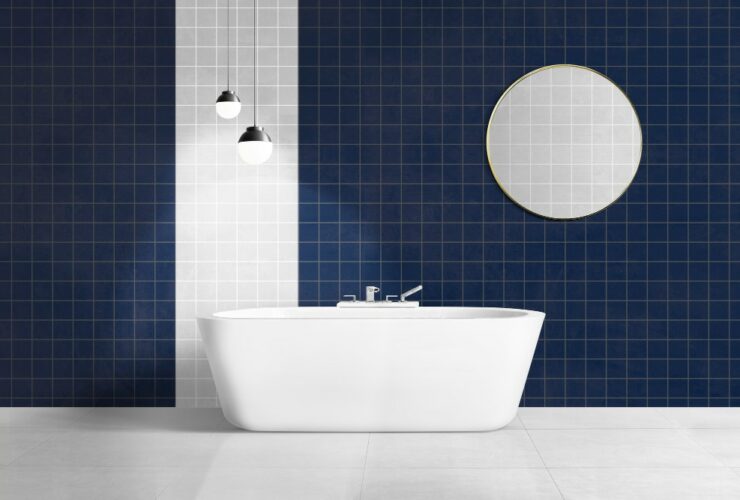
The realm of bathroom tiles is vast and varied, offering a plethora of materials to suit every taste. Yet, not all tiles are created equal, especially when it comes to enduring the rigors of a damp environment. Choosing the wrong material can spell disaster, with porous options like limestone and travertine absorbing moisture and fostering mold growth, particularly in shower areas.
Opt instead for non-porous materials such as ceramic or porcelain, specially crafted to withstand high levels of moisture. Not only are these materials resistant to mold and mildew, but they also boast ease of maintenance, ensuring your bathroom remains pristine with minimal effort. For shower floors, consider textured tiles to enhance traction and minimize the risk of slips.
Step-by-Step Guide:
1. Assess the moisture levels in your bathroom to determine the most suitable tile material.
2. Research various tile options, considering factors such as durability, maintenance, and aesthetic appeal.
3. Choose non-porous materials like ceramic or porcelain for optimal moisture resistance.
4. Prioritize textured tiles for shower floors to enhance safety.
Prioritizing Waterproofing: Shielding Against Damage
Amidst the quest for aesthetic perfection, the importance of proper waterproofing is often overlooked. Neglecting this crucial aspect can pave the way for water damage, particularly in areas prone to high humidity such as showers and bath surrounds.
To fortify your bathroom against the insidious threat of water infiltration, it is imperative to implement a robust waterproofing strategy. This entails the application of a waterproof membrane beneath the tiles, serving as an impenetrable barrier against moisture intrusion. By safeguarding your walls and floors, you not only preserve the structural integrity of your bathroom but also mitigate the risk of costly repairs down the line.
Step-by-Step Guide:
1. Consult with a waterproofing specialist to assess the specific needs of your bathroom.
2. Prioritize areas prone to moisture, such as shower enclosures and bath surrounds, for thorough waterproofing.
3. Invest in high-quality waterproofing products and ensure meticulous application to guarantee maximum efficacy.
4. Conduct regular inspections to detect any signs of water damage early on and address them promptly.
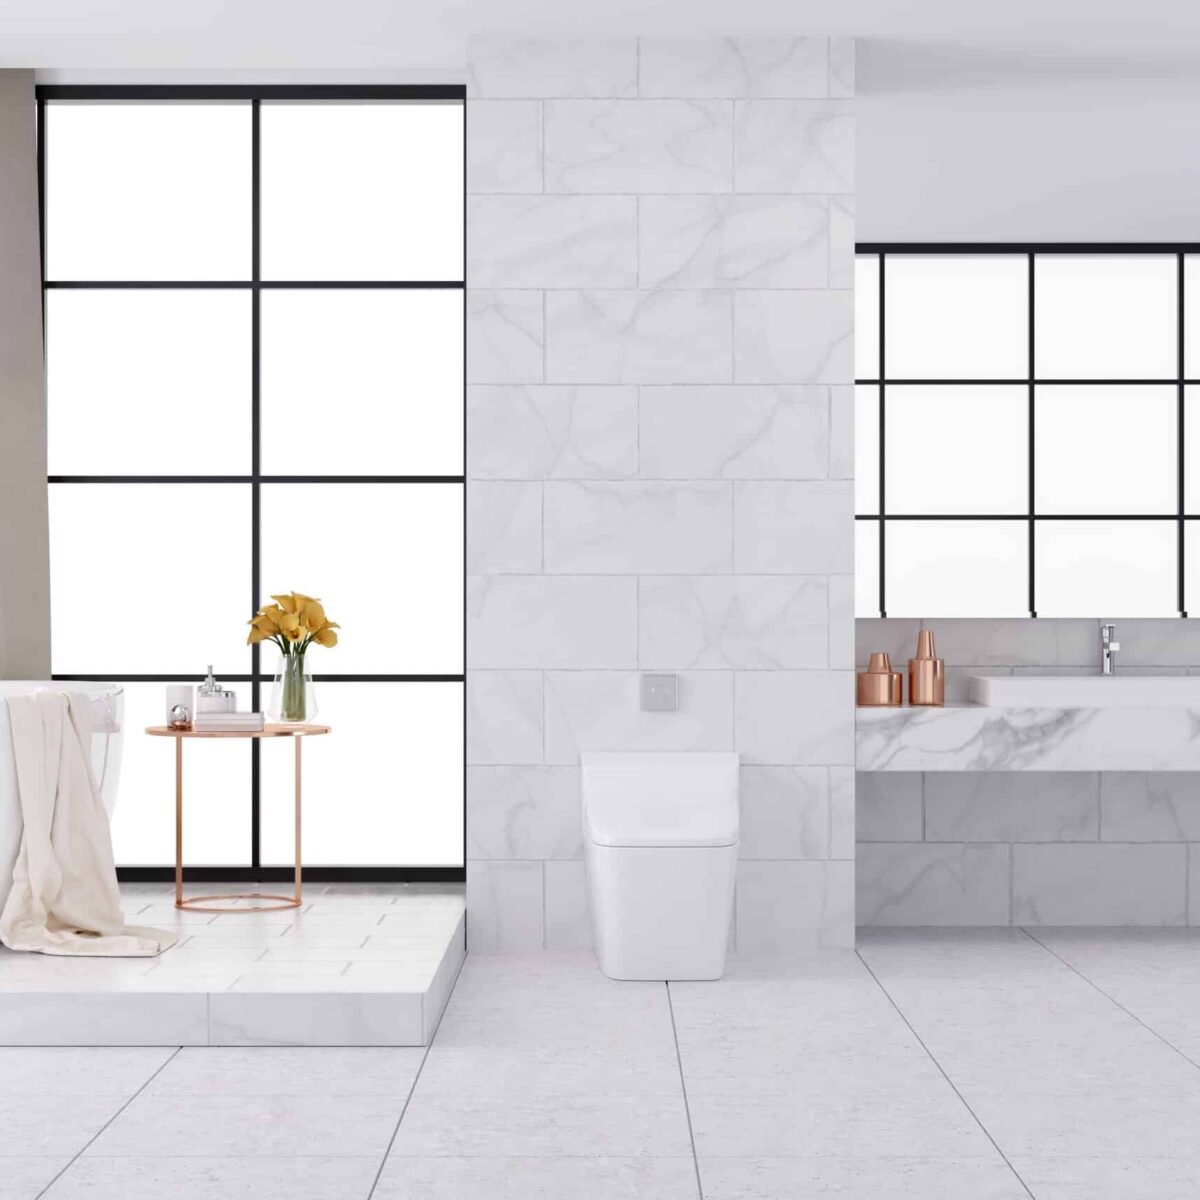
Harmonizing Grout Selection: Melding Form with Function
While often overshadowed by the allure of tiles, the choice of grout plays a pivotal role in the overall aesthetic and longevity of your tiled surfaces. A mismatched grout can detract from even the most exquisite tiles, while subpar varieties may succumb to the relentless assault of moisture.
When selecting grout, strike a balance between visual appeal and practicality. Opt for a color that harmonizes with your tiles, enhancing the cohesion of your design. Additionally, prioritize quality grout formulations such as epoxy, renowned for their superior resistance to stains and moisture. By marrying form with function, you can ensure that your grout lines remain pristine and resilient for years to come.
Step-by-Step Guide:
1. Consider the aesthetic impact of grout color on your overall design scheme.
2. Choose high-quality grout formulations, such as epoxy, for enhanced durability and moisture resistance.
3. Prioritize proper grout application techniques to minimize the risk of discoloration or deterioration.
4. Implement a regular maintenance routine to preserve the integrity of your grout lines and extend their lifespan.
Crafting a Seamless Tile Layout: Precision in Planning
A meticulously planned tile layout is the cornerstone of a visually stunning bathroom. Yet, all too often, the allure of spontaneous creativity gives way to haphazard arrangements, resulting in disjointed aesthetics and wasted resources.
Begin by envisioning your ideal tile layout, taking into account factors such as tile size, room dimensions, and architectural features. Aim for a cohesive design that seamlessly integrates with the existing elements of your bathroom, minimizing unsightly cuts and maximizing visual impact. By prioritizing precision in planning, you can elevate your bathroom from mere functional space to a work of art.
Step-by-Step Guide:
1. Measure the dimensions of your bathroom and sketch out a floor plan to scale.
2. Experiment with different tile arrangements using design software or physical samples.
3. Consider how the tiles will interact with fixtures, windows, and other architectural elements.
4. Opt for a balanced layout that minimizes wastage and accentuates the aesthetic appeal of your bathroom.
Enlisting Professional Installation: The Keystone of Success
The final, and arguably most critical, step in your bathroom renovation journey is the installation of your tiles. While the temptation to embark on a DIY endeavor or enlist the services of budget contractors may be strong, the repercussions of subpar installation can be dire.
Investing in professional tile installation is paramount, ensuring the meticulous execution of every detail. Experienced installers possess the expertise and finesse necessary to achieve flawless results, from ensuring a level substrate to employing the appropriate adhesives and techniques. By entrusting your project to skilled hands, you can rest assured that your bathroom renovation will not only meet but exceed your expectations.
Step-by-Step Guide:
1. Research reputable tile installation professionals with a proven track record of excellence.
2. Request references and portfolio samples to assess the quality of their workmanship.
3. Obtain detailed quotes and timelines to ensure alignment with your budget and schedule.
4. Prioritize clear communication and collaboration throughout the installation process to address any concerns or modifications promptly.
Conclusion: Your Bathroom Remodeling Journey
Renovating your bathroom is a multifaceted endeavor that demands meticulous attention to detail and unwavering commitment to excellence. By avoiding these common tile pitfalls and embracing best practices, you can embark on a transformative journey that culminates in a space of unparalleled beauty and functionality.
Remember, the key to a successful renovation lies not only in the end result but also in the journey itself – a journey fueled by creativity, ingenuity, and a relentless pursuit of perfection.
Seeking more bathroom remodeling ideas? Join our community on Instagram where share cool pictures and help each other with bathroom stuff. Let’s make bathrooms perfect together!
Frequently Asked Questions
Question 1: Can I use wooden tiles in my bathroom?
Wooden tiles can be used in bathrooms, provided they are specifically designed for wet areas and properly sealed to prevent water damage.
Question 2: How often should bathroom grout be replaced?
Grout should typically be inspected and replaced every 5 to 10 years, or when signs of wear and damage, such as cracking or discoloration, appear.
Question 3: Is it necessary to tile all the walls in a bathroom?
Tiling all the walls is not mandatory. It depends on personal preference and budget. Some choose to tile only wet areas like the shower, while others opt for half-wall tiling with paint or wallpaper above.
Question 4: What’s the best way to clean bathroom tiles and grout?
For regular cleaning, use a mild detergent and warm water. For grout, a baking soda paste applied with a brush can effectively remove mildew and stains. Avoid harsh chemicals that can damage grout and tiles.
Question 5: How do I choose the right tile size for my bathroom?
Consider the size of your bathroom and desired look. Larger tiles can make a small bathroom appear bigger, while smaller tiles add texture or create patterns. Ensure the tile size complements the space without excessive cuts.