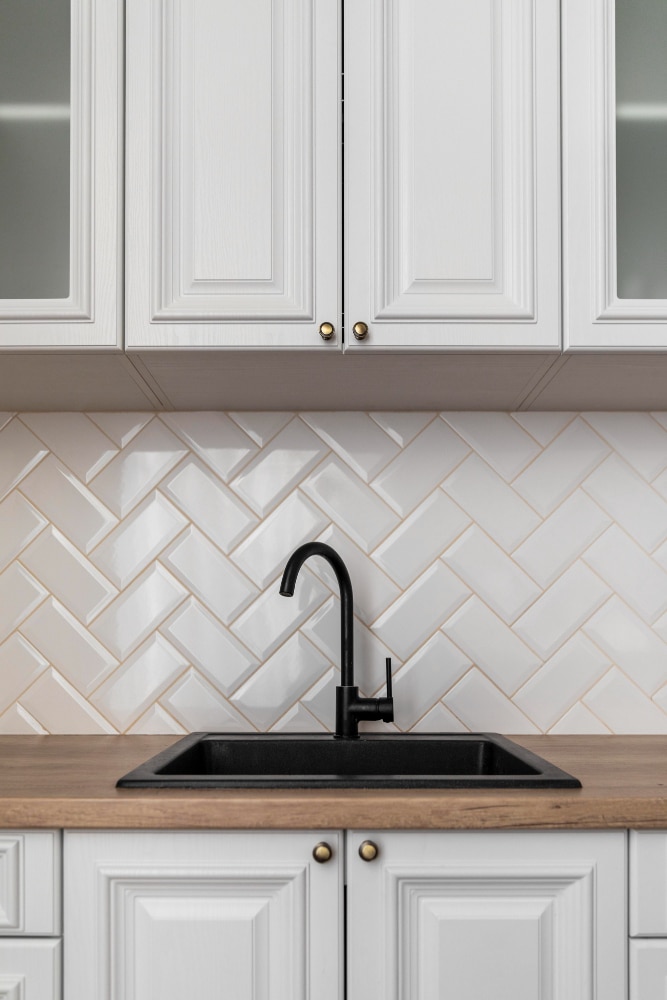
Picture this for a second: a herringbone kitchen backsplash transforming your space with its chic arrow patterns. If you’re thinking about remodeling your kitchen, herringbone kitchen backsplash is not just about adding tiles to a wall: it’s about infusing your kitchen with personality and flair. Think of it like this – the same joy you get from slipping into your favorite fun shirt, your kitchen gets from flaunting these playful tiles. The herringbone design, with its charming array of mini arrows, doesn’t just decorate your kitchen: it elevates it, turning it into a space that’s as stylish as it is welcoming.
Why Opt for a Herringbone Kitchen Backsplash?
- Unique Style: The arrow-like patterns give your kitchen a fancy touch, making it look unique.
- Easy Cleaning: Spills? No worries! A simple wipe makes it clean again.
- Variety of Choices: Just like picking a toy from a toy store, you can choose from many colors and materials.
Remodeling your kitchen can be an exciting project, and adding a herringbone tile backsplash can make a huge difference. Imagine having a white kitchen; adding a white herringbone backsplash is like accessorizing with a sparkly white necklace – it’s simply beautiful.
Steps to Your New Herringbone Backsplash
- Pick Your Style: What do you love? Bright colors? Soft hues? Pick your favorite!
- Measure Your Space: Grab a long ruler and find out how big your wall is.
- Install the Tiles: It’s like fitting puzzle pieces on the wall. Fun, right?
- Enjoy Your Kitchen: Now, cook delicious meals and show off your new, stylish wall.
Picking the Perfect Herringbone Backsplash
Choosing the right herringbone kitchen backsplash is crucial. Think about the color and material that will complement your kitchen the best. Do you prefer ceramic tiles for their glossy finish or perhaps marble for that touch of luxury? The choice is yours, and the options are endless.
Installation Tips for Your Herringbone Backsplash
Installing a herringbone backsplash might seem tricky, but it’s quite straightforward with the right approach. Start by ensuring your wall is clean and smooth. Then, lay out your tiles to preview the pattern before you begin the actual installation. Use spacers to keep the tiles evenly spaced, and don’t forget to apply grout after the tiles are set. This will keep them secure and enhance the overall look.
Maintaining Your Herringbone Backsplash
Maintaining your herringbone backsplash is easy. For daily cleaning, a simple wipe with a damp cloth is sufficient. For tougher stains, a mixture of water and mild detergent works wonders. Avoid using harsh chemicals as they can damage the tiles.
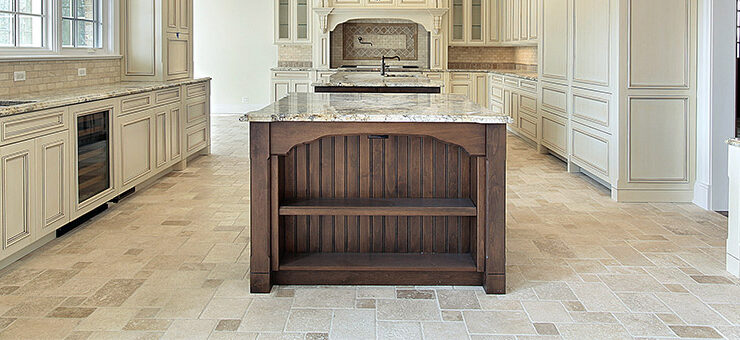
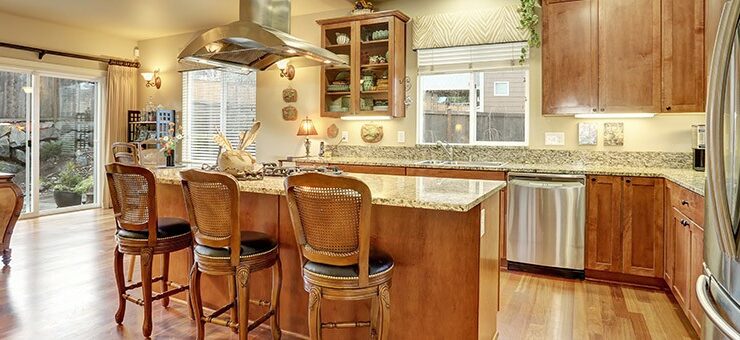
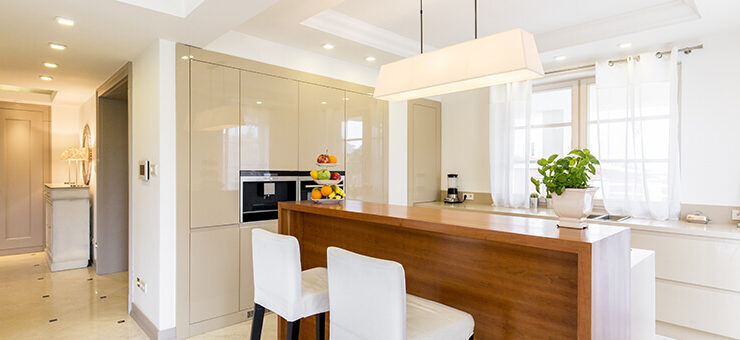
The Versatility of Herringbone Backsplashes
A herringbone kitchen backsplash isn’t just for kitchens with a modern style. Its versatility allows it to blend well with any kitchen design, from traditional to contemporary. Whether you’re aiming for a cozy, rustic vibe or a sleek, modern look, a herringbone backsplash can complement your kitchen beautifully.
Conclusion: Elevate Your Kitchen with a Herringbone Backsplash
A herringbone kitchen backsplash is more than just a practical addition to your kitchen; it’s a statement piece that adds character and style. It’s an easy and effective way to upgrade your kitchen without a complete overhaul. With its unique pattern, ease of cleaning, and wide range of options, a herringbone backsplash is an excellent choice for anyone looking to enhance their kitchen’s appearance.
For those ready to transform their kitchen into a stylish and functional space, a herringbone backsplash is the way to go. Remember to choose the style that best fits your personality and kitchen’s theme. Measure carefully, install with precision, and soon, you’ll be enjoying your kitchen like never before.
Looking to start your kitchen remodel or need more inspiration? Visit our Instagram community for a wide range of ideas and services to make your dream kitchen a reality.
Frequently Asked Questions
Q1: Can I put herringbone tiles by myself?
Yes, you can! If you like doing projects and are good at following steps, you can put up your herringbone tiles. You’ll need some tools and patience. Make sure to watch some how-to videos first to see how it’s done!
Q2: How long does it take to install a herringbone backsplash?
It depends on how big your kitchen wall is. If it’s not too big, you might finish in a weekend. But if you’re new to this, it might take a bit longer. Take your time to make sure it looks great!
Q3: Do herringbone tiles get dirty easily?
Nope! They’re just like other tiles. When they get dirty, you can easily wipe them clean with a wet cloth. If there’s a big mess, some soap and water will do the trick.
Q4: Can I use different colors for my herringbone backsplash?
Of course! You can pick any color you like. Some people use two colors to make a fun pattern. It’s all about what you think looks best in your kitchen.
Q5: Is a herringbone backsplash expensive?
It can be, but it doesn’t have to be. The cost depends on what tiles you pick. Some tiles are more money, but there are cheaper options that still look awesome. It’s like shopping for shoes – there’s something for every budget!